This guide will walk you through how to set up a BeamNG BeamMP server using playit.
Requirements:
BeamMP Client/Server - beammp.com
Resources:
Getting a server key
Sign into BeamMP Keymaster
and create a new key
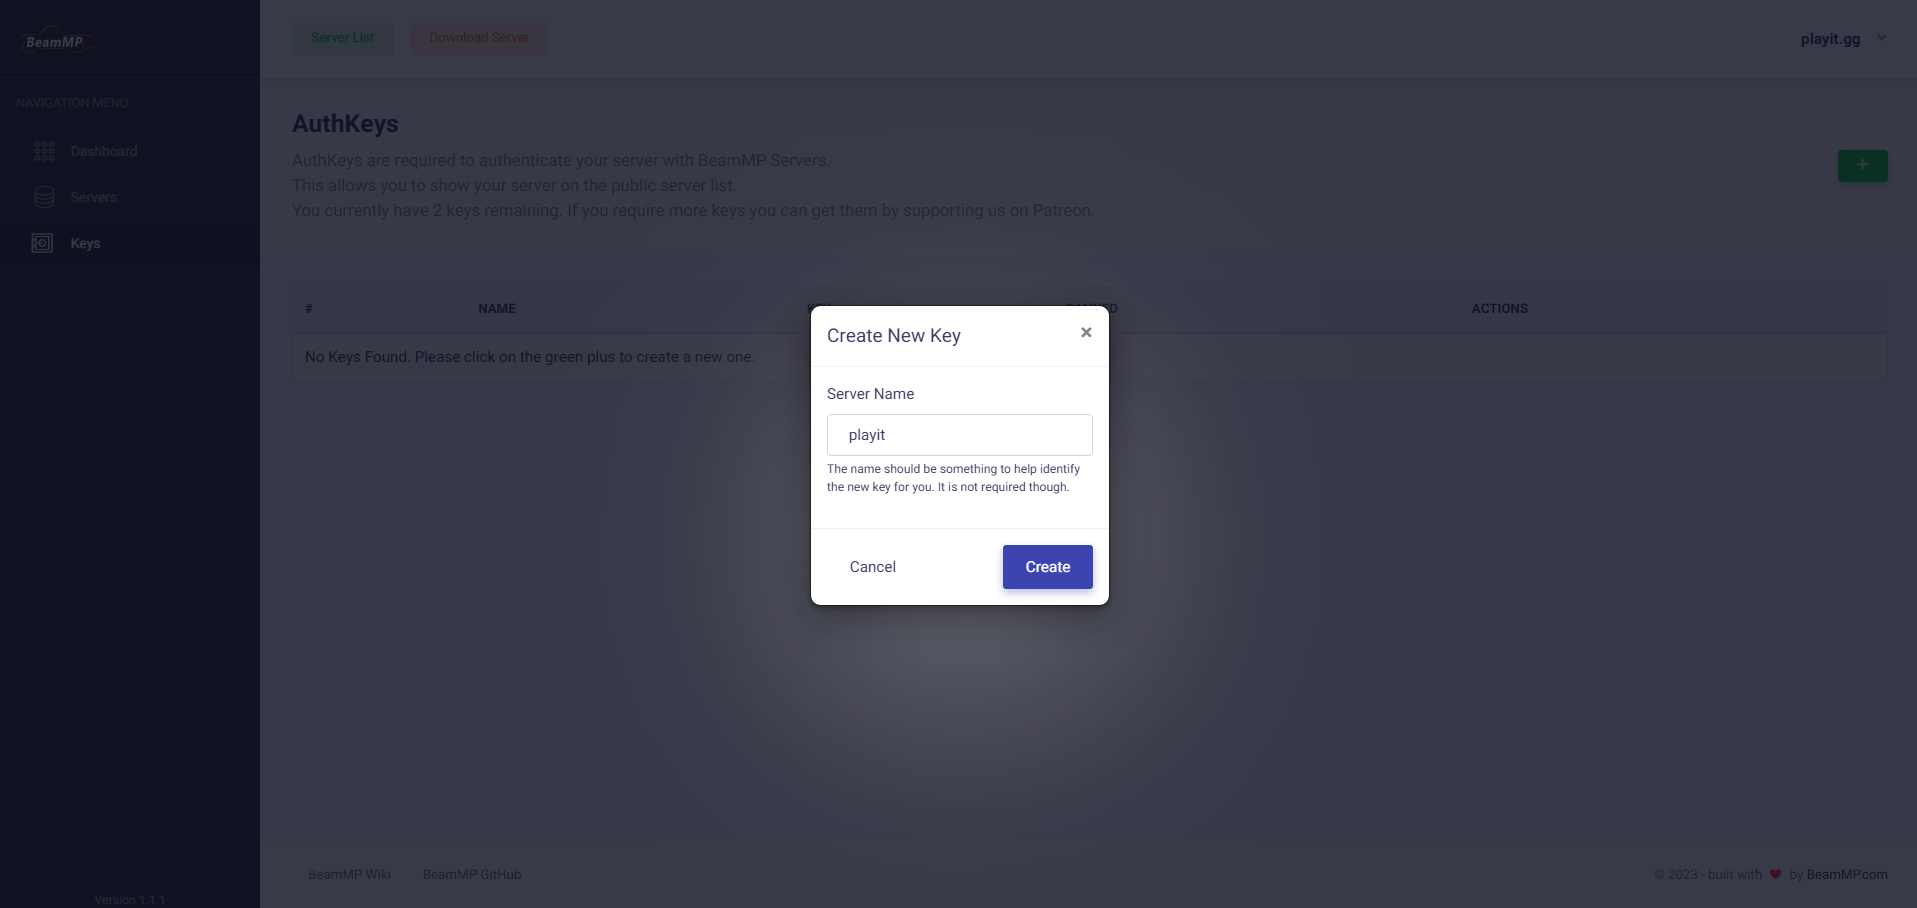

Your key is what allows the server to become online to other players.
Initializing the server
Move BeamMP-Server.exe into a folder where it won’t get lost or overwritten.
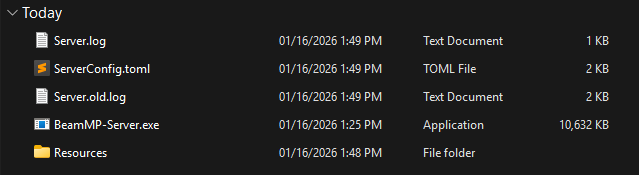
Open BeamMP-Server.exe, and wait. The server will fail to open at first, because we haven’t told it our key.
[16/01/26 14:34:28] [ERROR] No AuthKey specified in the "ServerConfig.toml" file. Please get an AuthKey, enter it into the config file, and restart this server.
[16/01/26 14:34:28] [INFO] Closing in 10 seconds
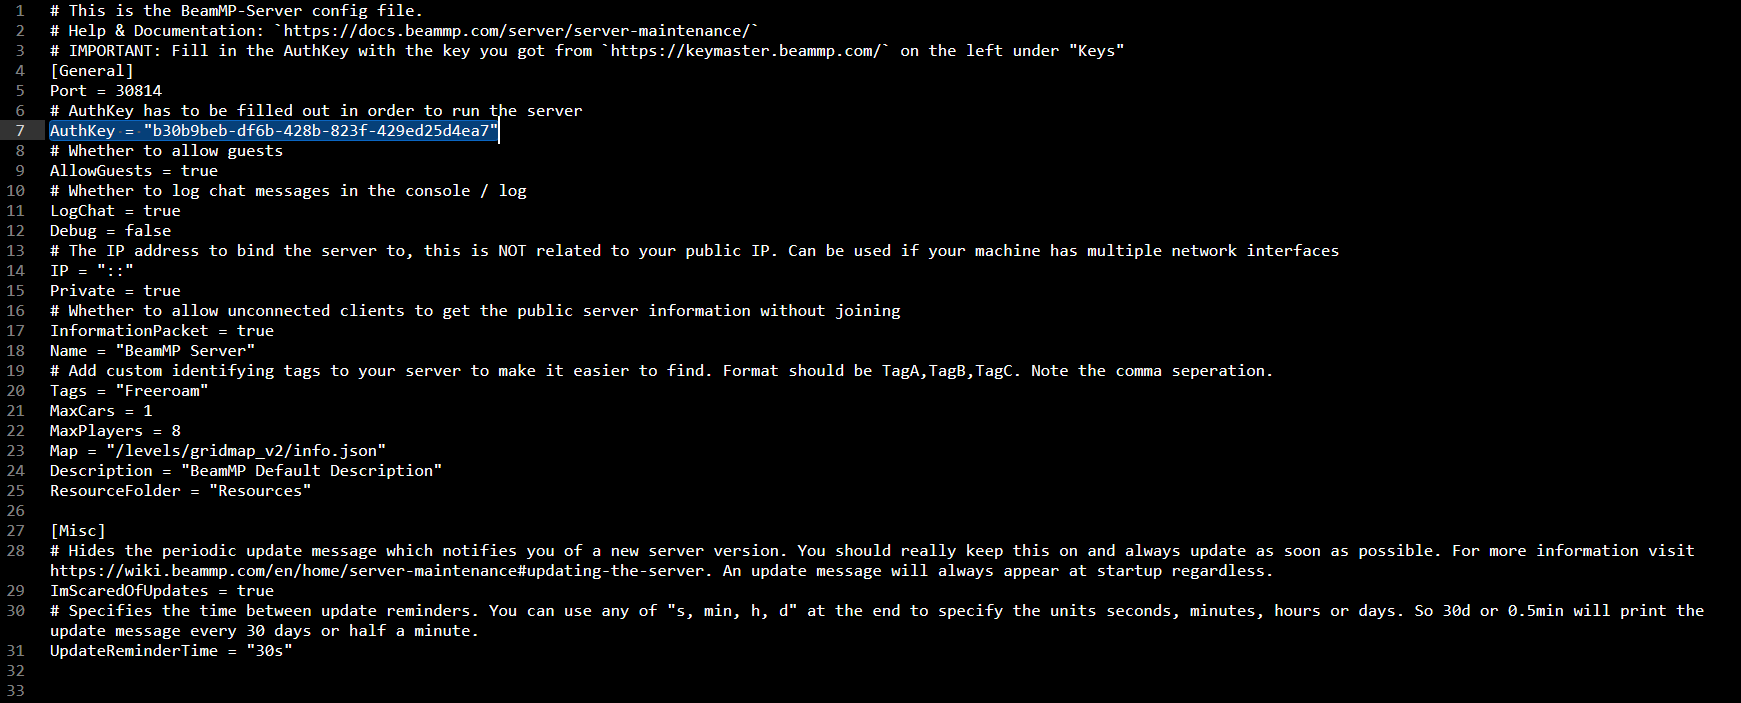
A new ServerConfig.toml has been created. Open this file.
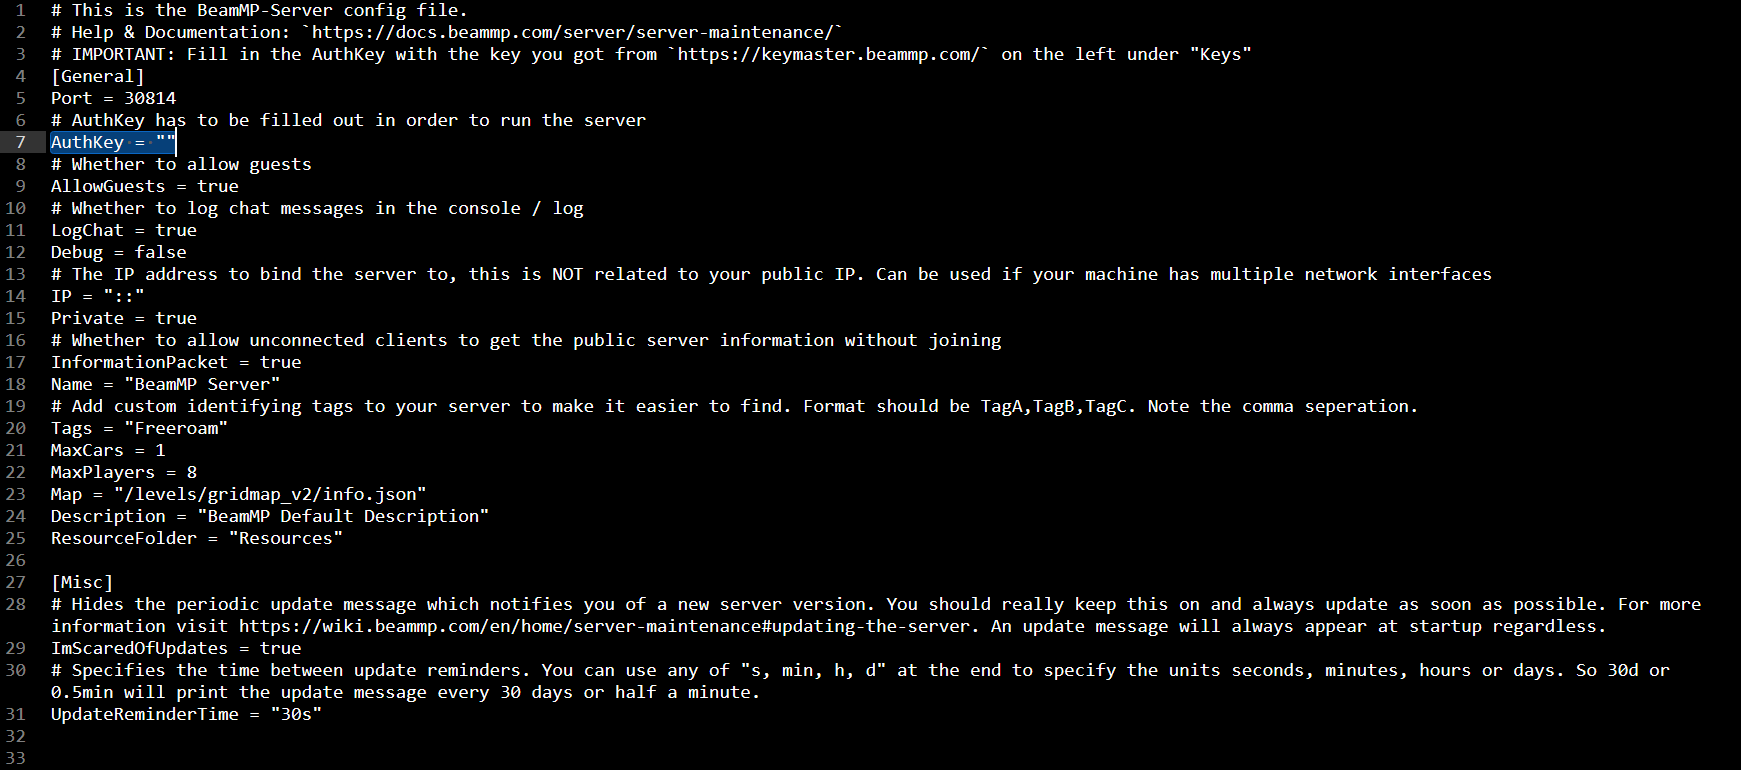
On Line 7, you will see an entry called AuthKey = "". This is where we will paste our server key. In this case, our key is b30b9beb-df6b-428b-823f-429ed25d4ea7.
The entry should look like AuthKey = "b30b9beb-df6b-428b-823f-429ed25d4ea7". Save the file.
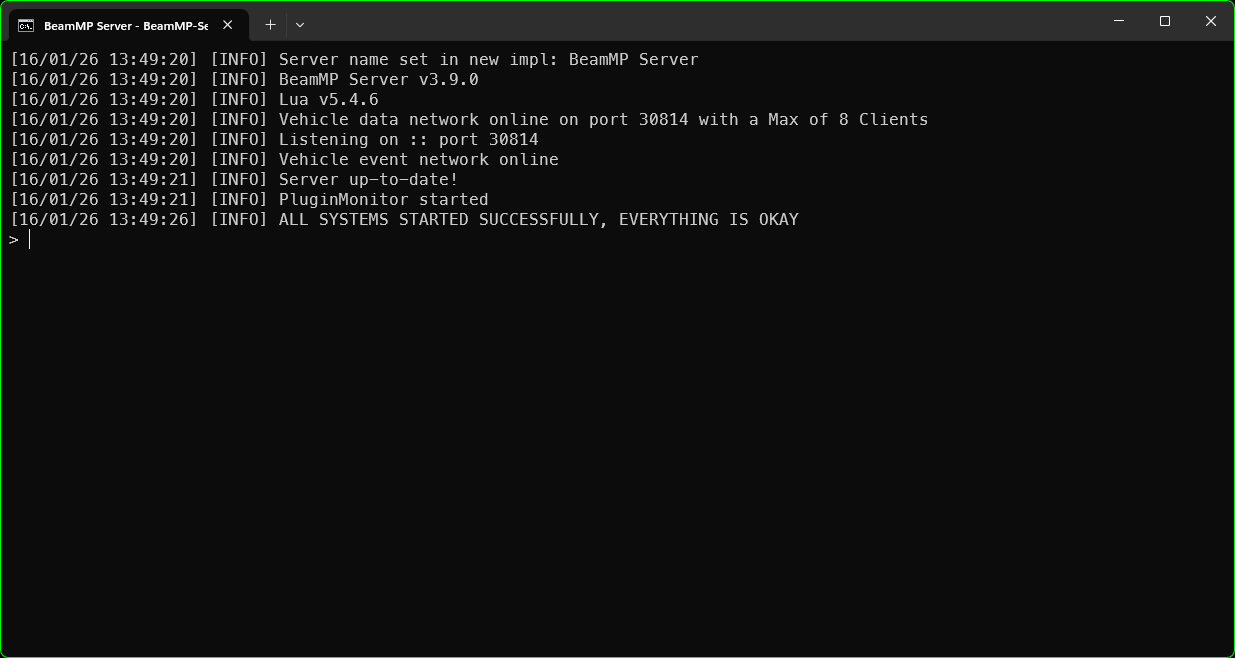
Open BeamMP-Server.exe again. Your console’s output should look like this:
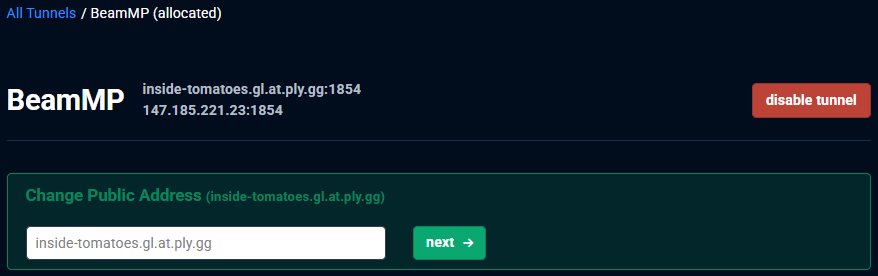
Tunnel setup
Since the game uses both
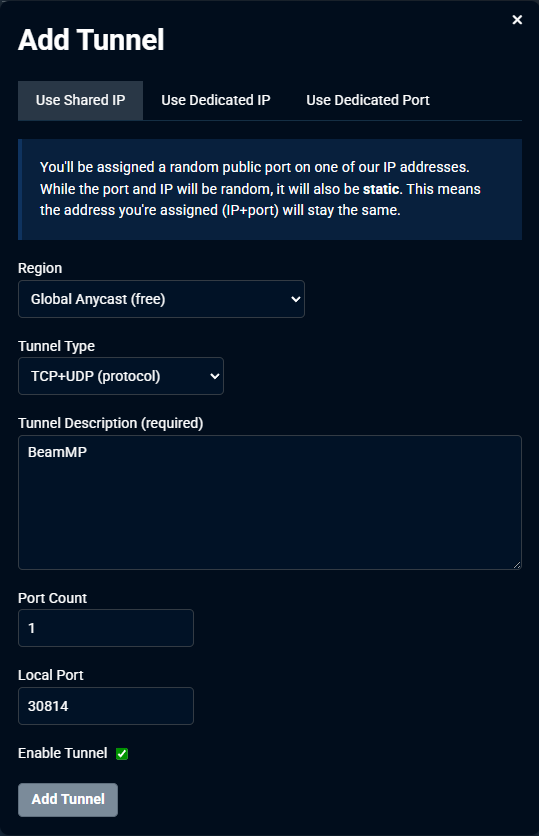
TCPandUDP, we will create aTCP/UDPtunnel. However, since TCP is not available to free users anymore, playit premium is required.
Add an agent if you haven’t done that yet. Configure the tunnel as follows:
Tunnel Type: TCP/UDP (protocol)
Port Count: 1
Local Port: 30814
You now have a tunnel. At the top of the page, you will find a hostname (domain) and an IP address and port.
Setting up BeamNG.drive
Visit beammp.com
and download BeamMP_Installer.zip and extract BeamMP_Installer.exe.
Open BeamMP_Installer.exe and continue with installation.
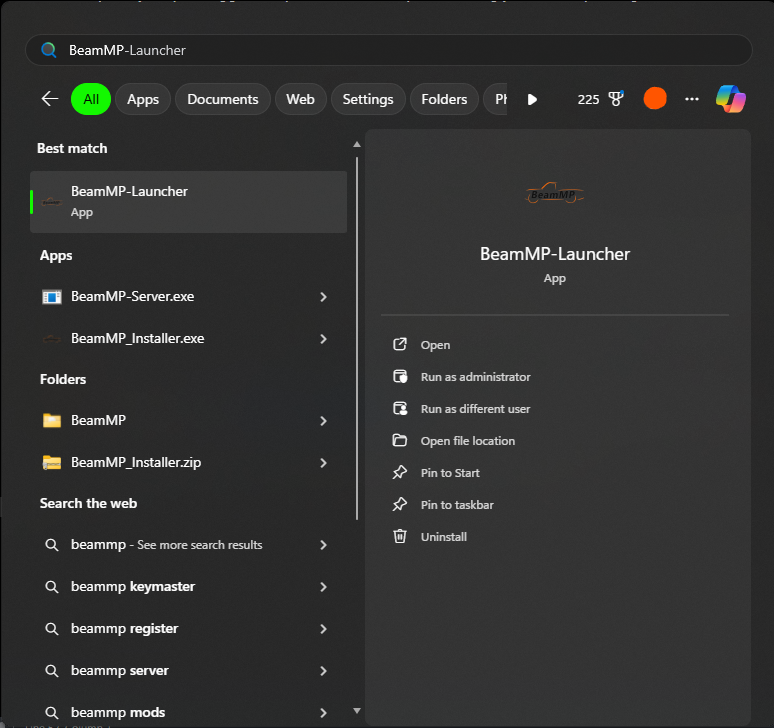
Open BeamMP Launcher, and then wait for the game to open.
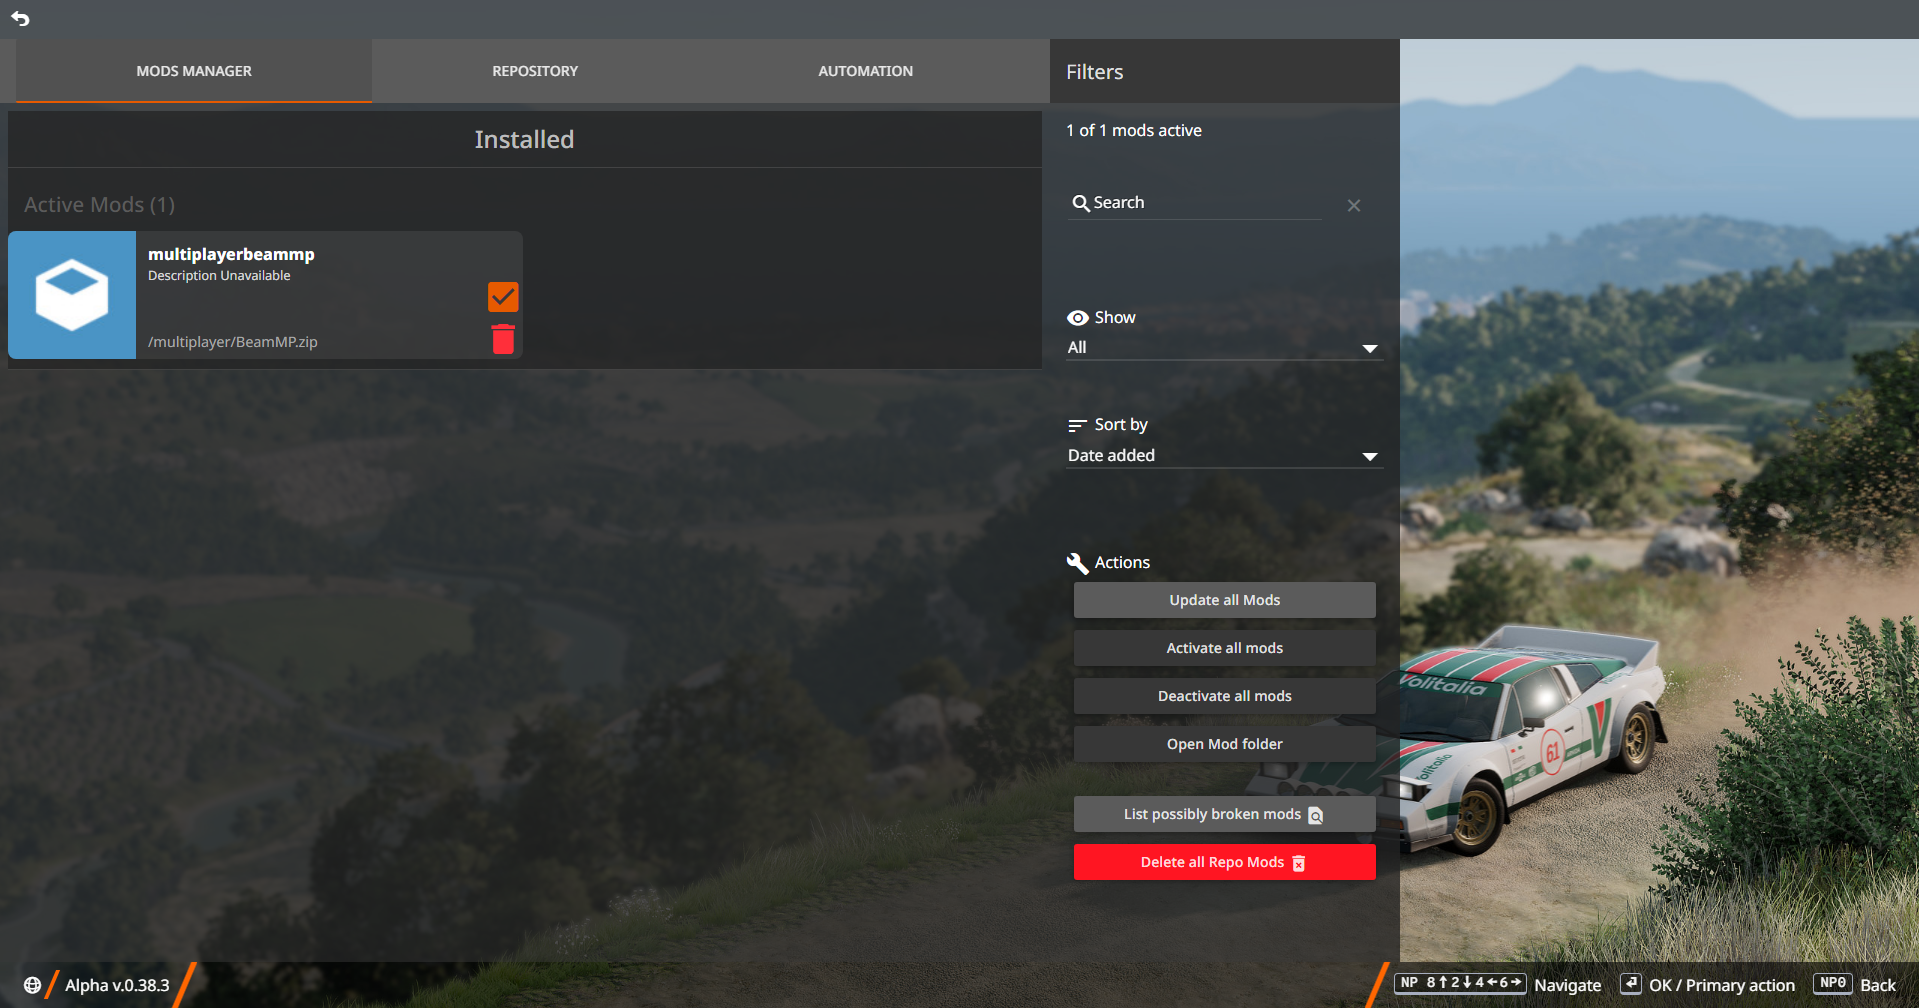
Once the game has launched, click on Repository and make sure that multiplayerbeammp is the only mod enabled.
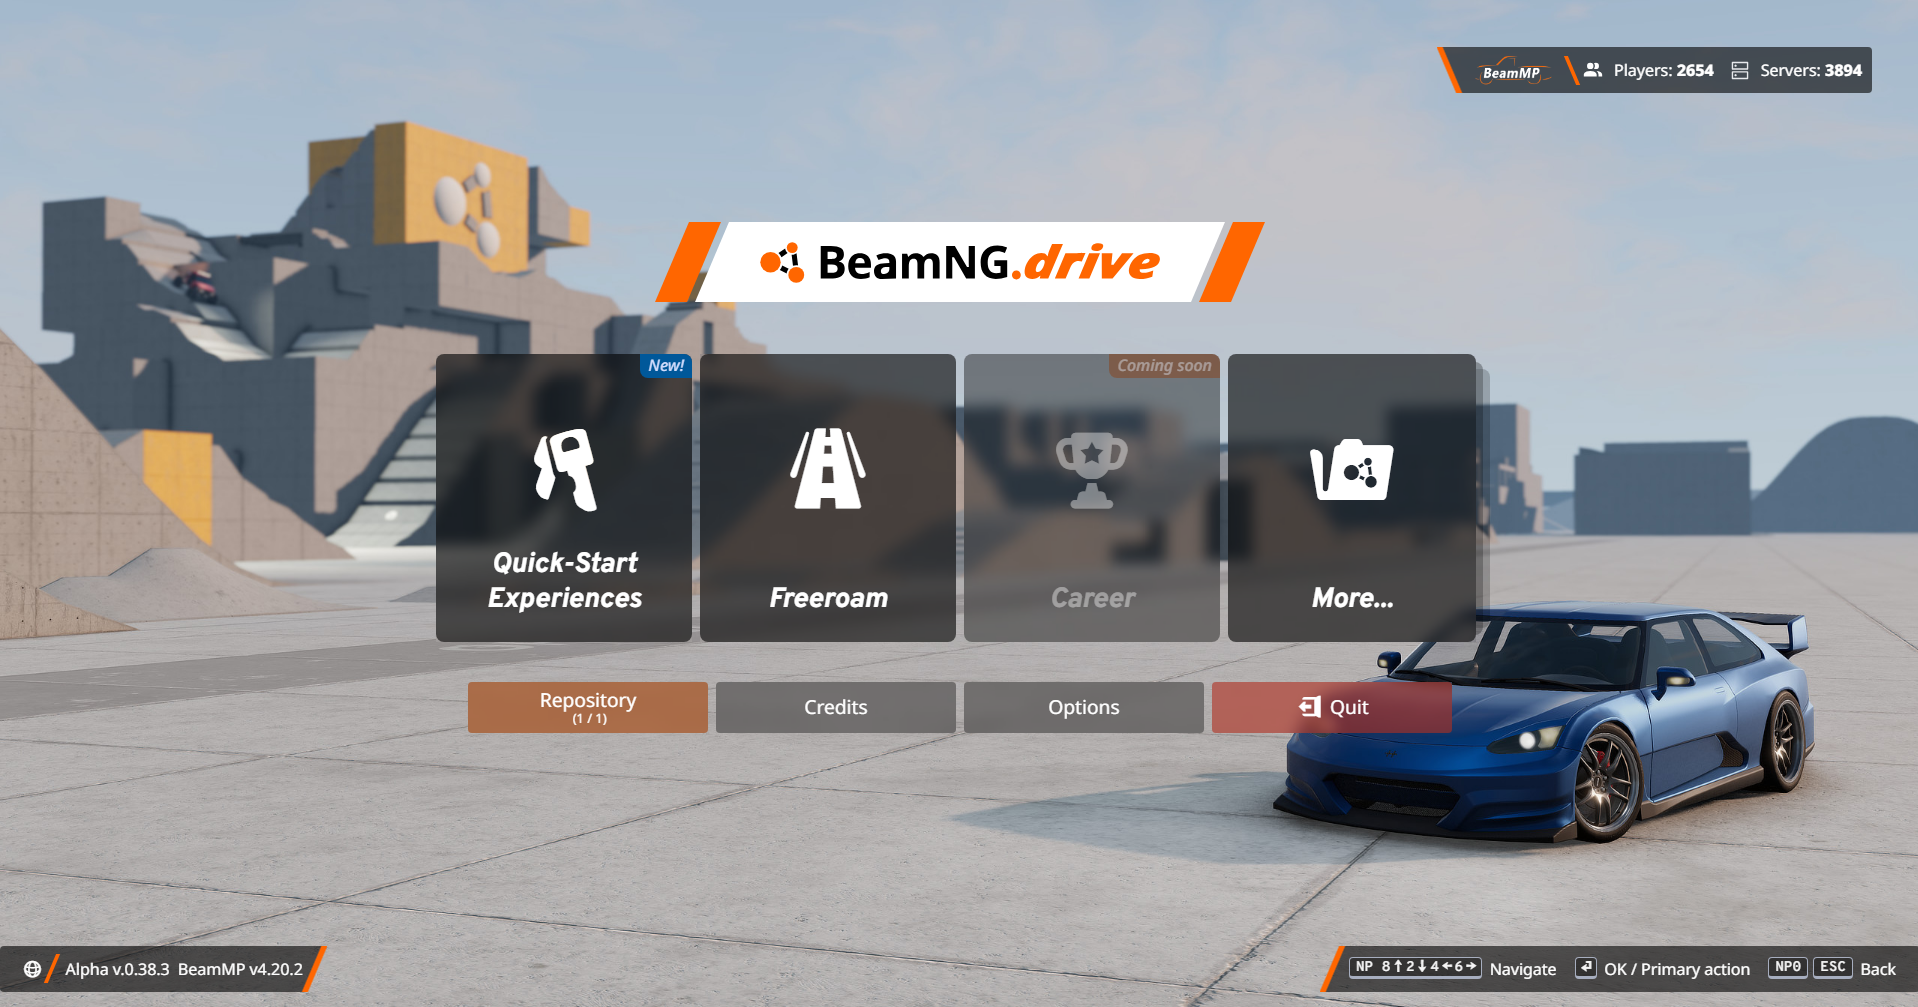
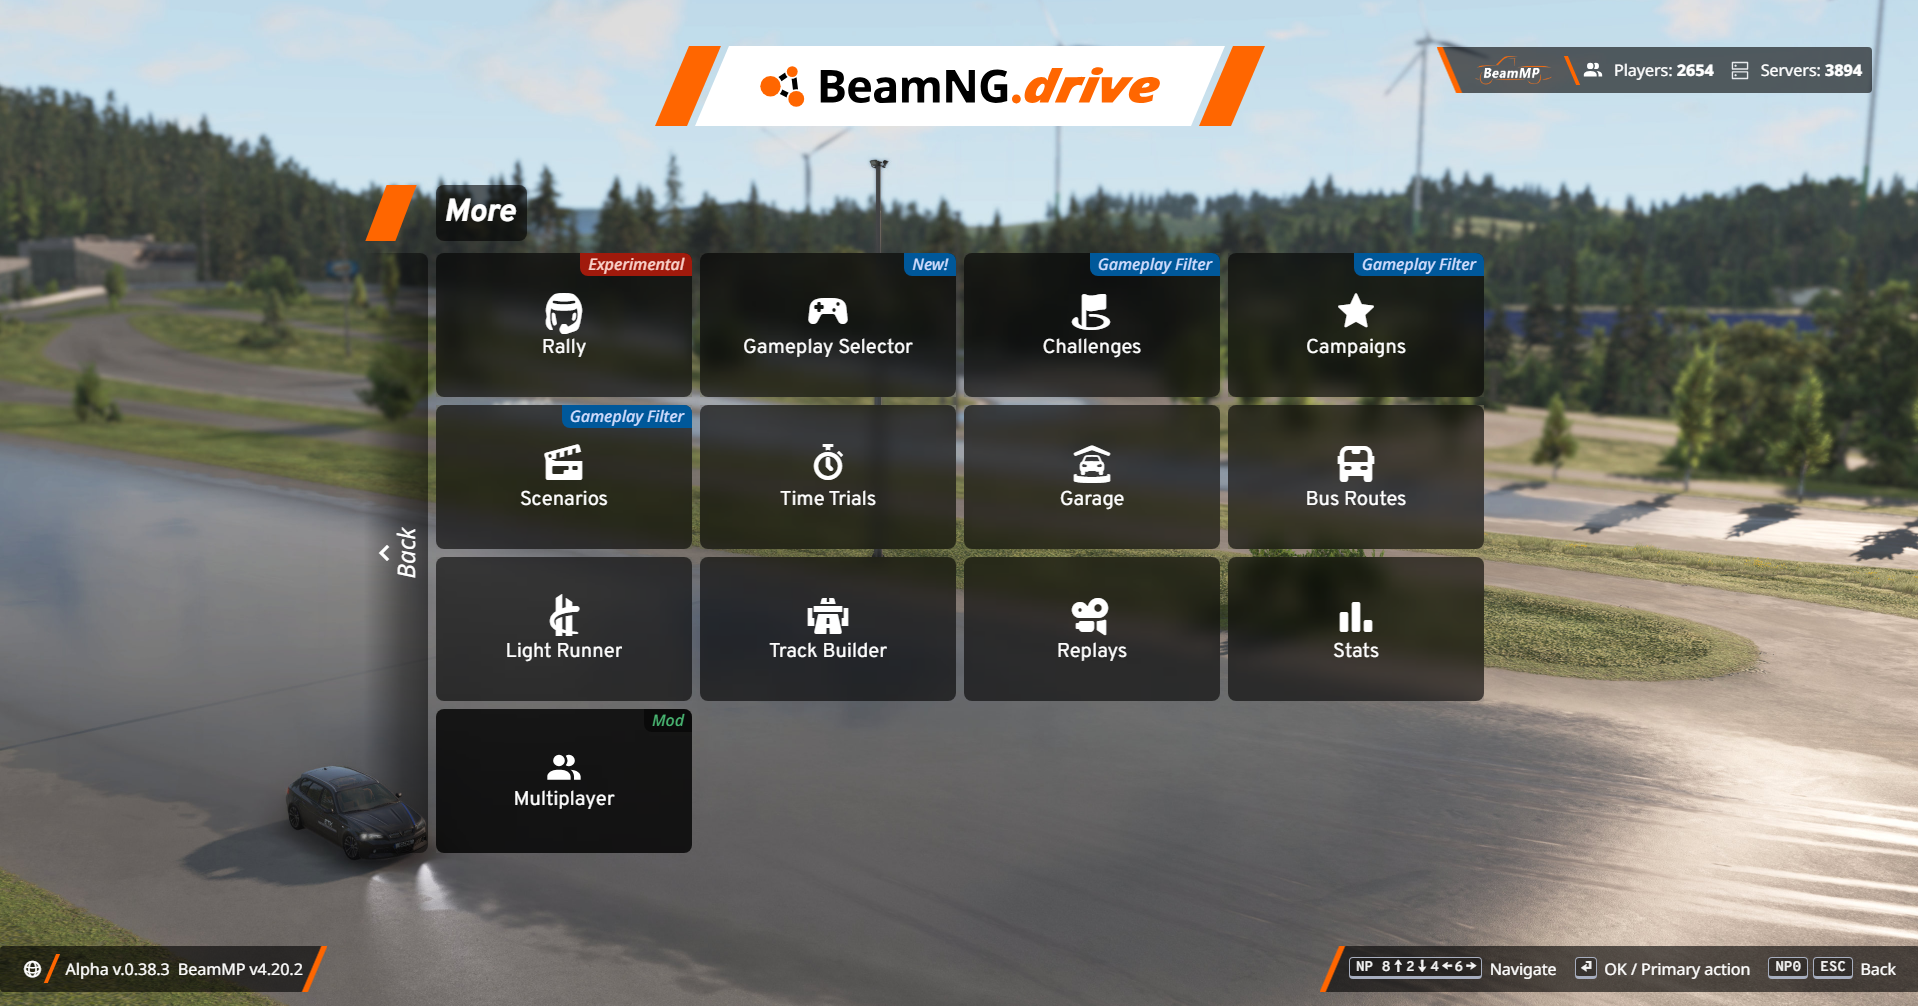
Once you’ve verified that it is the only mod enabled, return back to the main menu and click on More… and then Multplayer (Mod)
Accept and agree to the BeamMP Terms of Service and their rules respectively, and then click continue. Register a new account with BeamMP and then sign into the mod using the new account.
Go to Direct Connect and enter the tunnel information from earlier, and add it to favourites if you would like. You may use either the hostname or IP address.
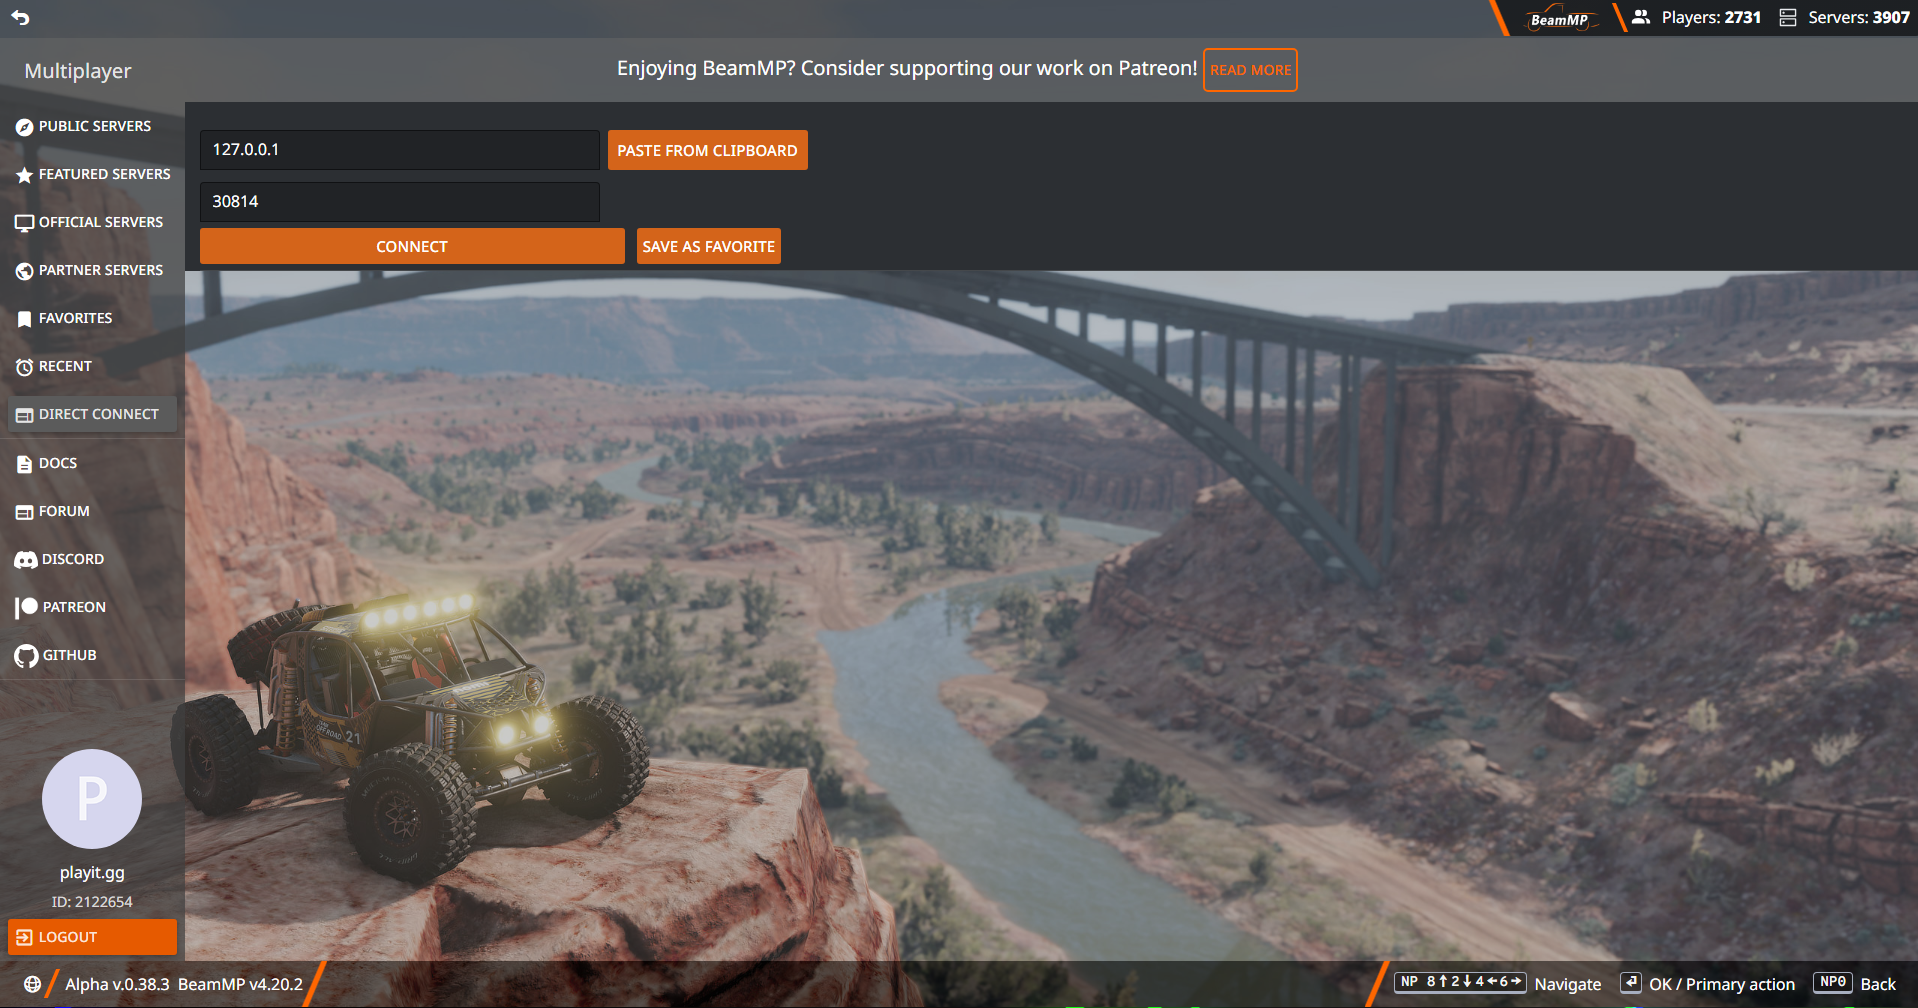
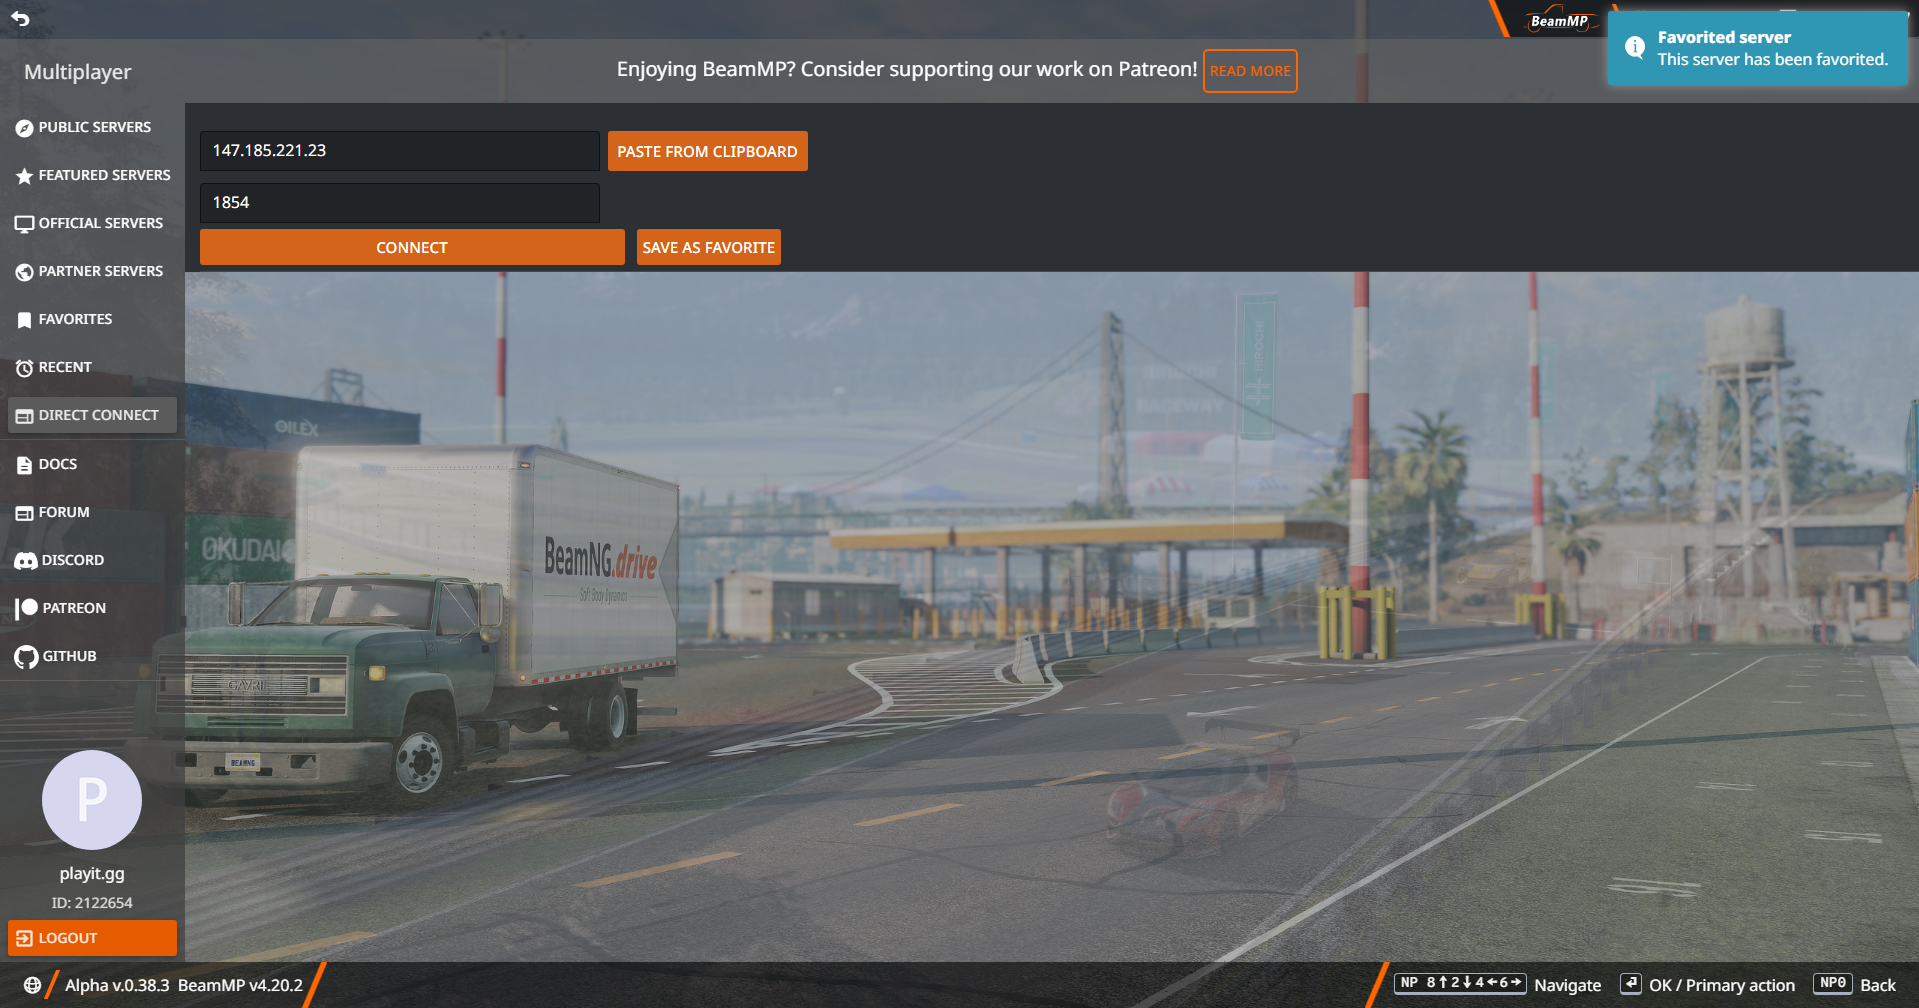
You should now be able to connect and play BeamNG.drive with other players using playit.